

How to lay artificial grass
Artificial grass is becoming ever more popular with homeowners in the UK as it offers a low maintenance alternative to grass. However, some are still hesitant, as they believe it is too costly. What many people don’t consider is installing artificial grass yourself could offer a considerable saving, and we are going to look at how to lay artificial grass.
No Time to read? Find out how to lay artificial lawn by watching our video here!
Step 1 – Measure your Garden
When ordering artificial grass, your order should be made by the square meter so you need to measure out how much you need. Make sure you get this right as if you get this wrong, it could be a costly mistake. Make sure you allow for some extra length, as you will lose some when trimming and fitting.
We have a range of artificial grass products available in 1 metre, 2 metre, 3 metre, 4 metre and 5 metre widths, so when measuring the width of your garden please take this into consideration.
Some people will measure the size needed by mapping it out on a grid system, or simply draw the garden shape on a piece of paper and use a tape measure. There is no right or wrong method as long as you measure correctly.
Tip: Always double check, or ask someone else to check with you. It’s easy to work it out incorrectly so keeping checking until you 100% satisfied with your measurements.
Step 2 – Order your grass
Now you know exactly how much artificial grass you require, (width x length) it’s time to place your order. A roll of artificial grass comes in lengths of up to 25 metres, ranging from 1 metre wide to 4 metres wide. You can order online, but we find a lot of people prefer to do this over the phone, which is fine too. Many people like to talk to someone just to clear up any final questions they might have, such as how much seaming tape and glue along with delivery times and advice on aggregates that may be required.
Don’t forget to order tools, although you might already have some, you will need some specialist tool which most people do not have lying around. Tools you will need includes;
- Oval Head Fixing Pins
- Geo- Textile Membrane
- Sharp Stanley Knife or Cutting Blade
- Artificial Grass Adhesive
- Spreader to Spread Adhesive
- Seaming Tape
Tips: You can also save more money by buying offcuts and pre-cut grass. This is grass that has already been cut and is cheaper than buying grass that is cut to a customised length.
Next – how to lay artificial grass…
Step 3 – Remove existing Turf
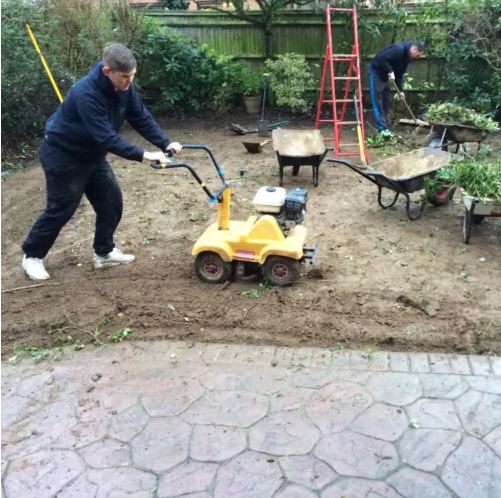
Before you do anything you need to remove the existing turf from the garden. We would recommend a cutting depth of between 40mm to 50mm. If you’ve got a big garden you can save yourself a lot of work by hiring a turf cutter and this will make light of this, but you can do this manually using a shovel if your only doing a small area.
Tip: Tool hire can be expensive so it could be worth asking around if you know any builders or gardeners who would let you borrow or hire from them at a cheaper rate.
Step 4 – Lay Type 1 aggregate 1st level base work.
Now you have removed the grass and before you start your base work you will need to insert your treated timber edging. This is what you secure your artificial grass on to once it has been laid. For perimeter edged we recommend 19mm x 38mm (2” x 1”) and for flower bed edged 19mm x 97mm (4” x 1”). Once this has been inserted you are now ready to add the type 1 crushed limestone base. This will act as a base layer which assists with drainage and helps to form a firm base. This will need to be compacted using a wacker/compacting plate. We suggest up to 35/40mm thickness for best results.
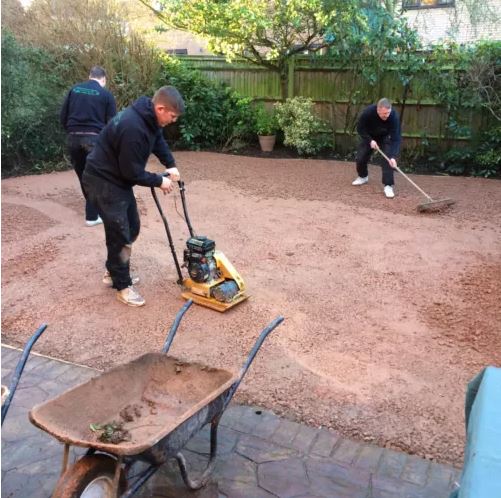
Step 5 – Lay & compact Sand 2nd level base work
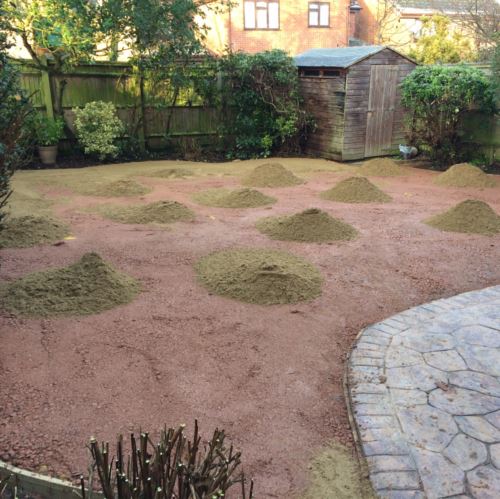
You should aim for around 10/15mm spread of sand of best results. You will then want to compact the sand down to provide as smooth a surface as possible. Your sand should come level to the top of the timber edging you have inserted around the perimeter.
Tip: You can hire a vibrating plate for this or use a heavy duty roller.
Step 6 – Lay a Weed Membrane
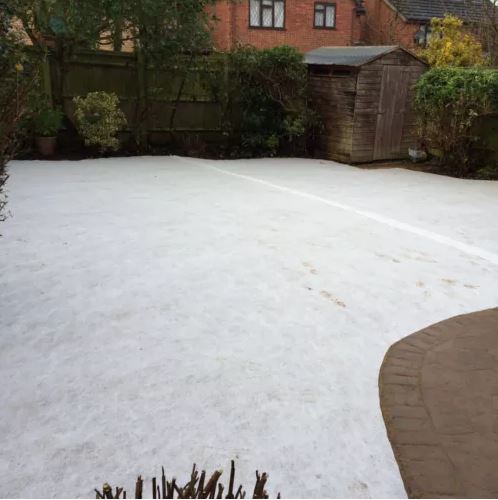
Next, you will need to lay a weed membrane, this will prevent any seeds spouting through the holes that are pre-punched at the point of manufacture that allows the water to drain through. You should overlap joints by at least 100mm and secure onto the timber edging.
Step 7 – Laying your Grass
Now that you have done all the preparation you can lay the grass out. Cut the grass to size ensuring you have a sharp knife to do this with. If using more than one piece, please ensure that the pile on all pieces are facing the same direction. For best results aesthetically on the eye, we recommend that the pile should always be laid facing towards the house, so that when you look from the house you look into the pile.
Tip: If the grass has any wrinkles or kinks you can leave this overnight and they should naturally drop out once the grass has had time to relax and settle. (With heavier crease or in winter this can take a little longer).
Step 8 – Joining the grass
So you have the grass laid out now you need to join the seam. You should use our specialised glue and seaming tape. We offer a glue set with everything you need to do the job like a pro. Joining tips can be found on our installations page.
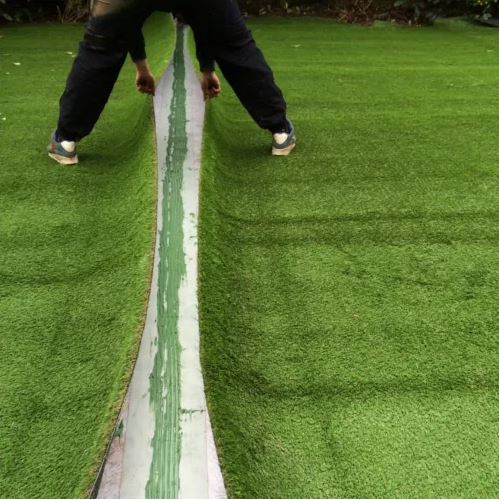
Tip: to make the joins look seamless ruffle the glass together to give it a natural effect.
Step 9 – Fix the Edges
Now the seams are joined you will want to secure the artificial grass on to the timber perimeter around the edges. We recommend that around the flower borders you overlap the grass by 50mm and secure to the side, for perimeter edges that are flush with pathways or fencing, you secure direct onto them. You can use either a high powered handheld staple gun or, tiny 3/8 screws. Simply pull back the grass fibred and fix through the black latex backing.
And there you have it. You have just installed your perfect new artificial lawns which will be virtually maintenance free for years to come (apart from the clearing off of any debris that nature deposits and the regular brushing with a stiff yard broom.
Or, why not make life much easier, purchase one of our artificial grass power brushes.
This fantastic and specially designed revolutionary machine is leading the way in freshening up the pile in your artificial grass and assists in removing moss, leaves, pine needles and any sundry debris that may have been deposited on your lawn through natural causes.
See our artificial grass fitting accessories page for further details and video of how fantastic and easy to use this machine is.
And there you have it! How to lay artificial grass. Feel free to get in contact with us for more information!
Related topics
- How to Choose Artificial Grass
-
Read More
What is the best artificial grass? Find out how to choose artificial grass
- How to prepare garden artificial grass
-
Read More
How to prepare the garden for artificial grass
- Artificial Grass Tools: What tools do you need to fit artificial grass?
-
Read More
If you’re looking to install an artificial lawn yourself, it’s important that you have the right equipment to get the best results. Find out which tools you need to install your new artificial lawn here.